Wednesday, June 8, 2011

A Bachelorette Dress


Hello blogging friends,

A couple weekends ago one of my friends got married. But before saying “I do!” she had herself a little bachelorette party. So I made myself a new dress—cause I could.


I used a black cotton which I absolutely fell in love with because it looks like it is flocked, but it’s not!


I have been really eager to make a dress with a bustier top so I gave it a whirl—under bust wires, coil boning and all. It was a little tricky to fit right, but in the end I got it to work.


Part of the reason I got the fit just right was because I flat lined the entire bodice in Horse Hair canvas which really helped it hold the shape smoothly.


To add extra support and structure to the skirt, I used an European Turned Underlinging made from cute pink fabric.


I also Mitered the corners, cause that’s what you’ve got to do it’s so easy and so purty!


I wanted to get a little bit of the pink on the outside of the dress, so I made a flower and ribbon belt which also accentuates my waist (which is a good thing!)


And Voila! I ended up with a dress suitable for a bachelorette party.


But, because I don’t often wear strapless dresses, I also included some removable straps which add a real elegant look to the dress making it appropriate for fancier occasions too!


Happy Bacheloretting
~Melisa & Cordelia


PS. Check back tomorrow cause I should have a tutorial on how to make the flower!

Tuesday, June 7, 2011


Me Made June Days 2-7

So far this Me Made June thing has been quite easy—except for the whole picture taking part. Turns out I had way more clothes I made in my closet than I thought.

Here are my outfits for days 2-7, except that one has gotten lost somewhere. I had a little trouble finding someone to take my pictures everyday and missed one day, and, for the life of me, I can’t remember what I wore to put it back on! I promise it was something I made!


Day 2

The lost day. What I wore on June 2, 2011 will remain an unsolved mystery.


Day 3


Skirt: Me made
Top: Banana Republic

Day 4


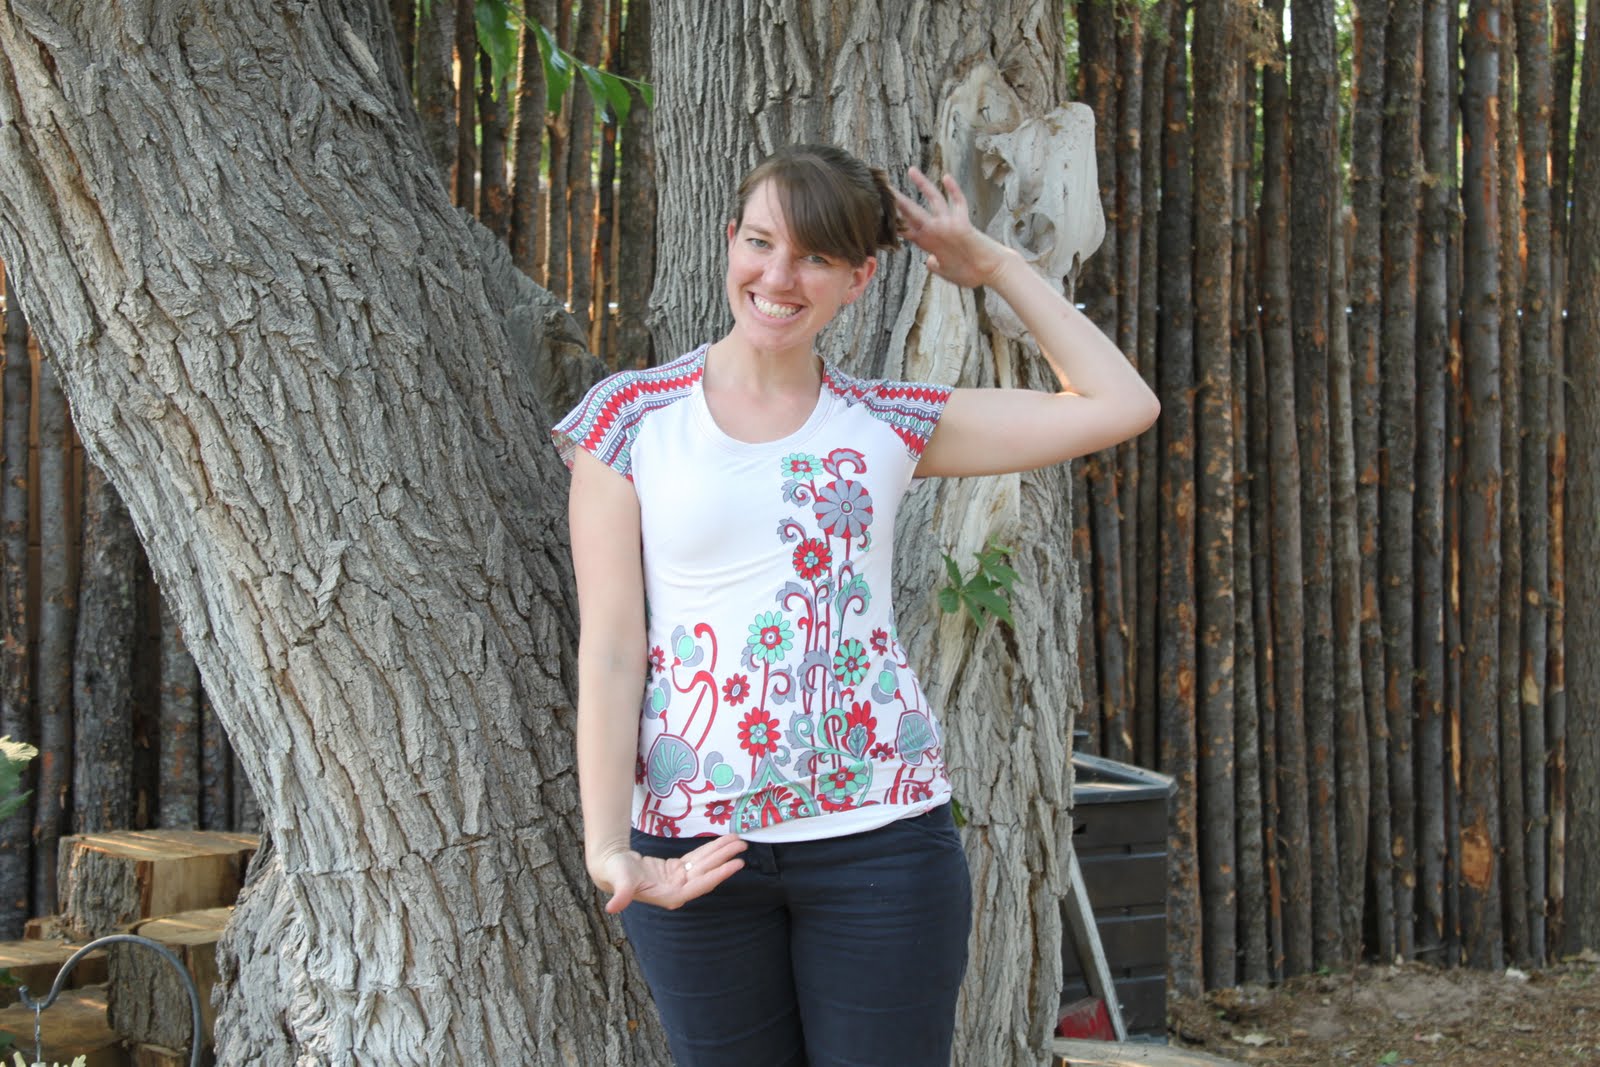
T-shirt: Me Made using fabric I picked up in Canada
Shorts: Altered by me

Day 5


Skirt: Me Made. I love it cause it’s good for twirling
Top: Target and then altered by me

Day 6

My first day of summer camp!
Skirt: Me Made.
Top: ???I was wearing the stylish Summer Prep t-shirt I was given, but then I changed.

Day 7


T-shirt: Target and then embellished by me
Shorts: Polo I think.

And there you have it! I post more outfits soon.

PS.  Who says it doesn't get green in New Mexico?!
Happy Me Made June
~Melisa & Cordelia


Friday, June 3, 2011

The Easiest Skirt You'll Ever Make

I’m getting ready to teach a kids summer camp so I have been developing easy, cute, teen-friendly projects and discovered the easiest skirt ever.

It’s also green because I recycled an old men’s shirt. Which is especially nice because it means you don’t have to sew any side seams or hems!

 
To make your own easy skirt, start with an underused men’s shirt.
 Make sure it’s large enough to fit around the widest part of your hips.

Lay the shirt flat.


Use a yard stick to measure from underarm to underarm. Mark this line and cut on it, or use your rotary cutter.

Use a seam ripper to remove the bottom portion of the breast pocket—make sure you are careful because I ripped my first shit this way!

Overlap the front placket and sew the layers together. Make sure there is no button in the way—you may have to remove one.


Make a casing for the elastic. Start by folding the top edge in ¼”. Press


Now fold the top edge in 1” and press.

Edgestitch the casing closed. The easiest way to do this is to use an edgestitch foot (that’s the #10 foot for my fellow Bernina sewers). Line up the guide with the fold of the fabric and move the needle over to the right a few notches. This will give you a nice straight stitch.

Be careful of any buttons! You may need to remove the top button and sew it back on later!

Don’t Forget to leave a 2” opening to put the elastic through!!!


Cut a piece of ¾” elastic 1” shorter than your waist.
Pin a safety-pin to one end and thread the elastic through the casing.


Overlap the elastic 1 ½” and sew in place with a few rows of straight stitches.


Close up the casing opening and you are all finished!


Happy Recycling
~Melisa & Cordelia


Wednesday, June 1, 2011

Me Made June--Lets Get it Started


It’s finally here—the day I’ve been both dreading and excitedly waiting for—The start of Me Made June.
  As you may recall I committed myself to a month of wearing at least one garment I made or altered everyday for a month. This sounded like an easy challenge when I signed up, but as I’ve been perusing my closet I’ve began to realize that the majority of the clothing I make for myself are nicer dresses to wear to special occasions and I don’t really want to have to wear those all month long!

It’s also a bit tricky for me this year, because all June long I will be teaching a kids summer sewing camp and some of my garments are just not appropriate for chasing kids around in the heat.
But have no fear, I will figure something out (be prepared to see a few embellished t-shirts)!

So lets get this thing started with Today’s outfit.


Today I have a casual day of teaching and running some important post Fiber Arts Fiesta Errands so I wore a simple wrap shirt made by me paired with jeans and sandals.


Prepare yourself to see several goofy pictures of me cause I'm not very photographic.

You should also prepare yourself to see this shirt in several forms because it is comfy to wear, quick to make (I made this one in exactly the amount of time it took me to watch a movie) and a great way to use up some of those cute fabrics I’ve been hanging on to for a while.
Plus I get lots of compliments every time I wear on of these blouses so it must be a good thing.


For this blouse I used some Oliver + S City Weekend fabric I had in my stash. The pattern is a Butterwick pattern I altered a bit (ok quite a bit) to make it fit better and for easier construction.


This version wraps and has ties. And, I should have taken my pictures BEFORE wearing it to a class—or I should have at least ironed it……

There you have it.
 I most likely won’t do a daily post, as I hope to continue with my standard posts (I have some exciting tutorials planed for you if I get my butt in gear) but I will definitely update you on my process every few days or once a week.
I hope you enjoy and I hope you are inspired to participate in your own sewing challenge!

Happy Me Made June
~Melisa & Cordelia

Monday, May 30, 2011

Fiber Arts Fiesta--The Booth


Welcome to the Albuquerque Chapter of the American Sewing Guild’s Fiber Arts Fiesta Booth

For the last several days my life has been consumed with a little thing known as Fiber Arts Fiesta—a international textile show which features vendors, judged entries and charity fundraisers.

This year I was in charge of the Sewing Guild’s entries and arranging them in a pleasing exhibit.

So come on in and take a peak at the booth!


We had volunteers come man the booth and recruit new members.


All the entries we received were on display and I had the challenge of arranging them so they were all showcased at their best.


And there you have it.

Happy Fiber Arts Fiesta
~Melisa & Cordelia

Tuesday, May 24, 2011

Fiber Arts Fiesta

For those of you who don't know, Cordelia and I have been up to our eyeballs in Fiber Arts Fiesta.

"But what is this Fiber Arts Fiesta?" You may be asking yourself, especially if you are not from the Albuquerque aria.


 Well, it's a show dedicated to fiber arts education and to the display of fiber-related artwork. It is hosted by 17 co-sponsoring New Mexico fiber arts guilds and includes both juried and judged works or art.
The 2011 Fiesta received 632 exhibit entry applications from all over the world (the quilters had one from Taiwan) and will host 70 vendors. 

The show hosts vendors, fashion shows, guild and vendor demos, classes and workshops, educational exhibits and a solo show by Featured Artist Arley Berryhill and a fundraiser--The Giving Tree.

The show is to take place on Thursday May 26th, Friday May 27th and Saturday May 28th at the Manual Lujan Complex located on the State Fair Grounds.

This year I am in charge of the Sewing Guild booth and entries, the fashion shows and the vendor demos, so as you can imagine it's been keeping me busy! If you happen to be in the aria you should stop by the show and give me a shout out cause I sure would love to see you!

Happy Fiber Arts
~Melisa & Cordelia

Sunday, May 22, 2011

Birdy Skirt


Sometimes you never know when Inspiration is going to hit, and the other day as I was walking through the home decor department at Target, Inspiration hit me right smack in the left eye in the form of a shower curtain.


I couldn’t resist the sweet little birds printed on the fabric, so I bought the curtain, got it into my studio and worked a little sewing magic and ended up with this a-lined skirt.

I gave it a waist yoke to make the skirt extremely wearable for both casual and slightly dressier occasions.


The shower curtain fabric needed a little support, so I lined the skirt with an old bed sheet, and let me tell you, this sucker is as soft as a pool full of marshmallows. Wearing it is like walking through a cloud. Yum!

Oh, and I added a little ribbon to the hem to make it purty.


I wanted to add a little more detail to the skirt, so I used some rick-rack to finish of the hem.


But the best part?
I had enough fabric left over that I was able to make a little curtain for my new studio window.


But even better than that?
I used the button holes that were already there (cause it was a shower curtain) to run the curtain through my curtain rod, which means all I had to do was hem the thing.
Talk about easy!
 Now those are my kind of projects!

Happy Sewing!
~Melisa & Cordelia