
Sooooooo.
This is just a little bit on the late side.
Ok, over a week on the late side.
I apologize.
But at long last, I bring to you the exciting conclusion on how to make your very own sewing apron.
To start, put right sides together and sew the apron backs to the front.

Finish the seams however you want and press open.

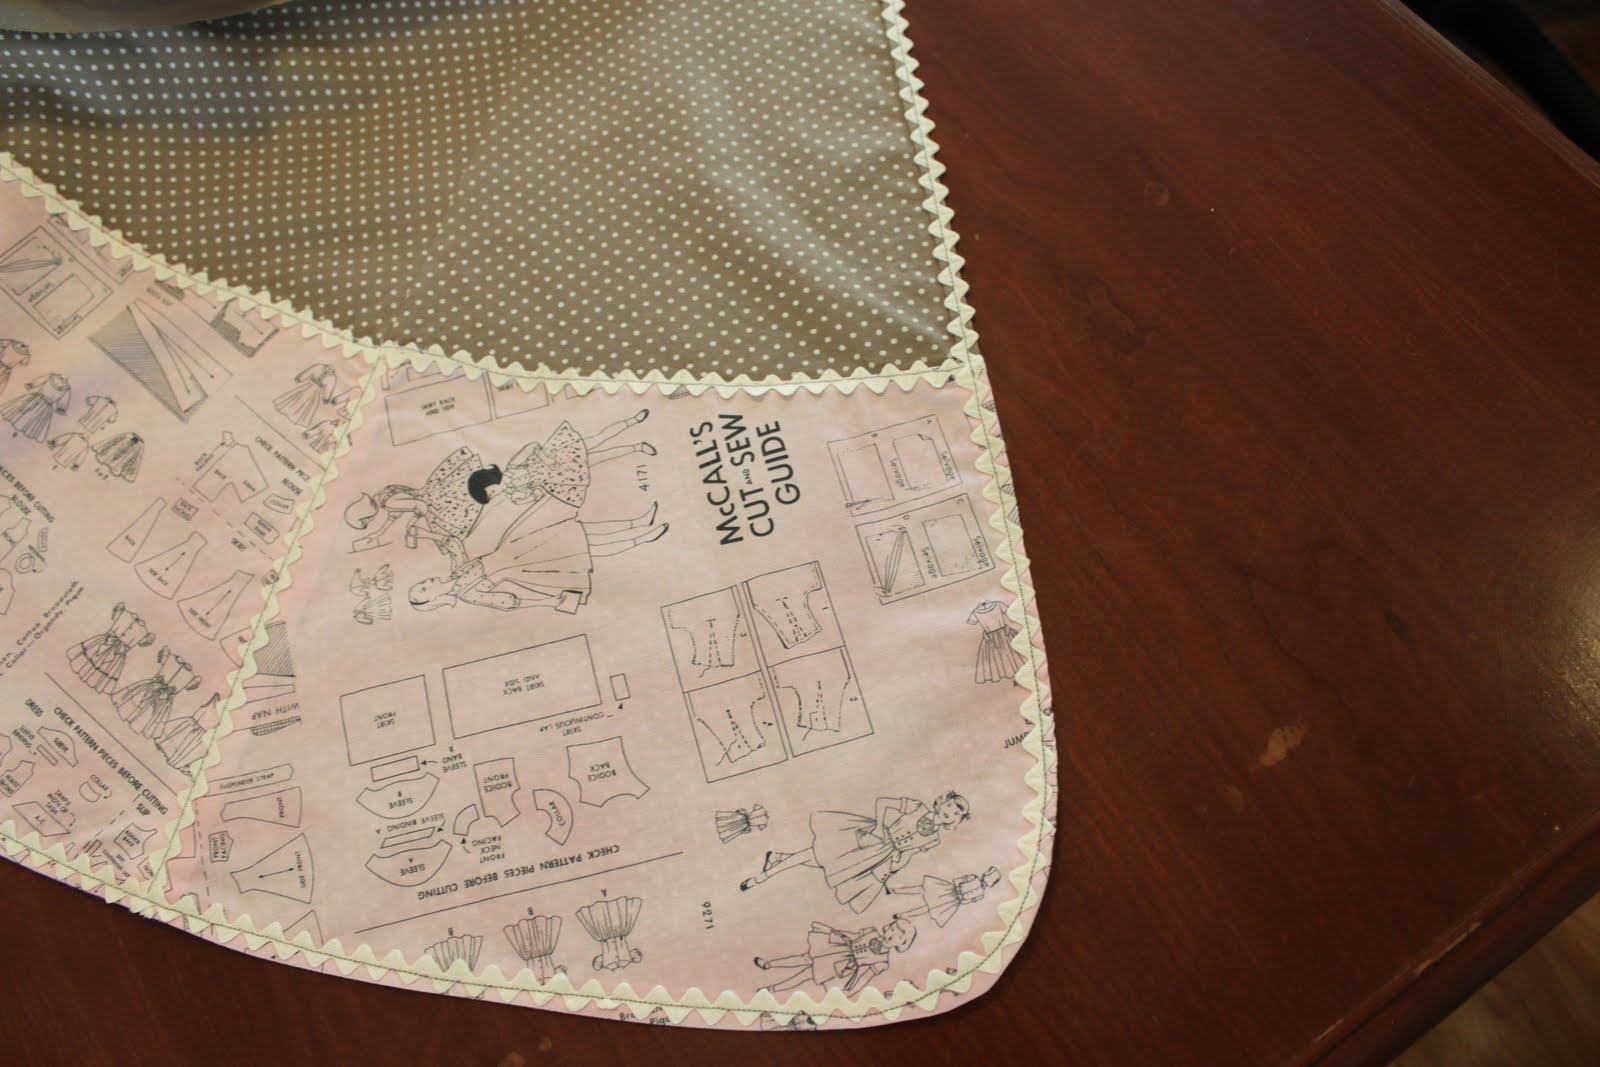
Repeat with the pocket front and backs.

If you want, sew rick rack down the seams and center front of the pocket piece. The rick rack is sewn to the pocket section only!

Fold the top edge of the pocket section over and over again to hem.
If you want it, apply rick rack by sewing down the center of the rick rack.

Place the right side of the pocket to the wrong side of the apron. line up the bottom and side edges and pin in place.

Use 1/2" seam allowance to sew the pocket to the apron.

Clip the curves....

Press the seam open. Continue pressing the apron 1/2" above the pocket section.

Flip the pocket section so that the right sides of the pocket and skirt are facing both facing out.

Stitch through all layers over the seams and the center front to form the pocket sections.
Fold the straight edges of the apron under 1/4" to finish the hem of the edges.

Sew the side hems in place. Attach rick rack around the outer edge of the skirt to hide the hemmed edge.

To make the waist band, sew the two strips together along one short end.
Press the seam open.

With wrong sides together, fold the waist band in half lengthwise and press.

Open the waist band up.
Find the center of the waistband and the apron.
Pin the waist band to the apron matching the centers.
Sew in place with a 1/2" seam allowance.

Fold the remaining waist band--which will become the ties-- in half with right sides together and pin.
Sew together leaving the section where the apron is open..

Press the seams open. I like to insert a yardstick into the tube to make a nice surface for pressing.

Turn the bands right side out. This takes a bit of patience and tweezers help.
Press everything nice and flat.
Turn under the remaining seam allowance along the edge of the apron and pin in place.

Top stitch or slip stitch the opening closed and then...
voila!
You have finished your very own sewing apron!!!!
Wooot!

Happy Aproning
~Melisa & Cordelia
No comments:
Post a Comment