
Yesterday I showed you how I obsessively organize my fabric. Today I will show you how I obsessively organize my patterns.

Disclaimer:
what you are about to see is extremely handy, but takes a serious investment in time to set up. However, it’s well worth the work and I believe in the long run it has saved me countless hours of browsing through patterns.
All righty. Back to our regularly scheduled program.


For years I stored my patterns on a bookshelf and organized them by roughly clumping all the skirts together and all the jackets together and all the blouses together and all the…you get the point. Then when I wanted a pattern I would pull out the skirts and dig through until I found the pattern I wanted. Well it got to the point that I had too many patterns and they were taking up too much precious book shelf space and it was taking too long to sort through them all so I got inspired and came up with my Look Books.
My look books are a nice easy consolidated collection of my patterns that I can flip through at my leisure, and work much like the filing system at the fabric store.

Here’s how you too can make your very own Look Book.
Step 1:
make a colored photocopy of each pattern envelope front. If your pattern collection isn’t too overwhelming it would be helpful to photocopy the envelope back too. Make sure you get the pattern number in the picture

Step 2:
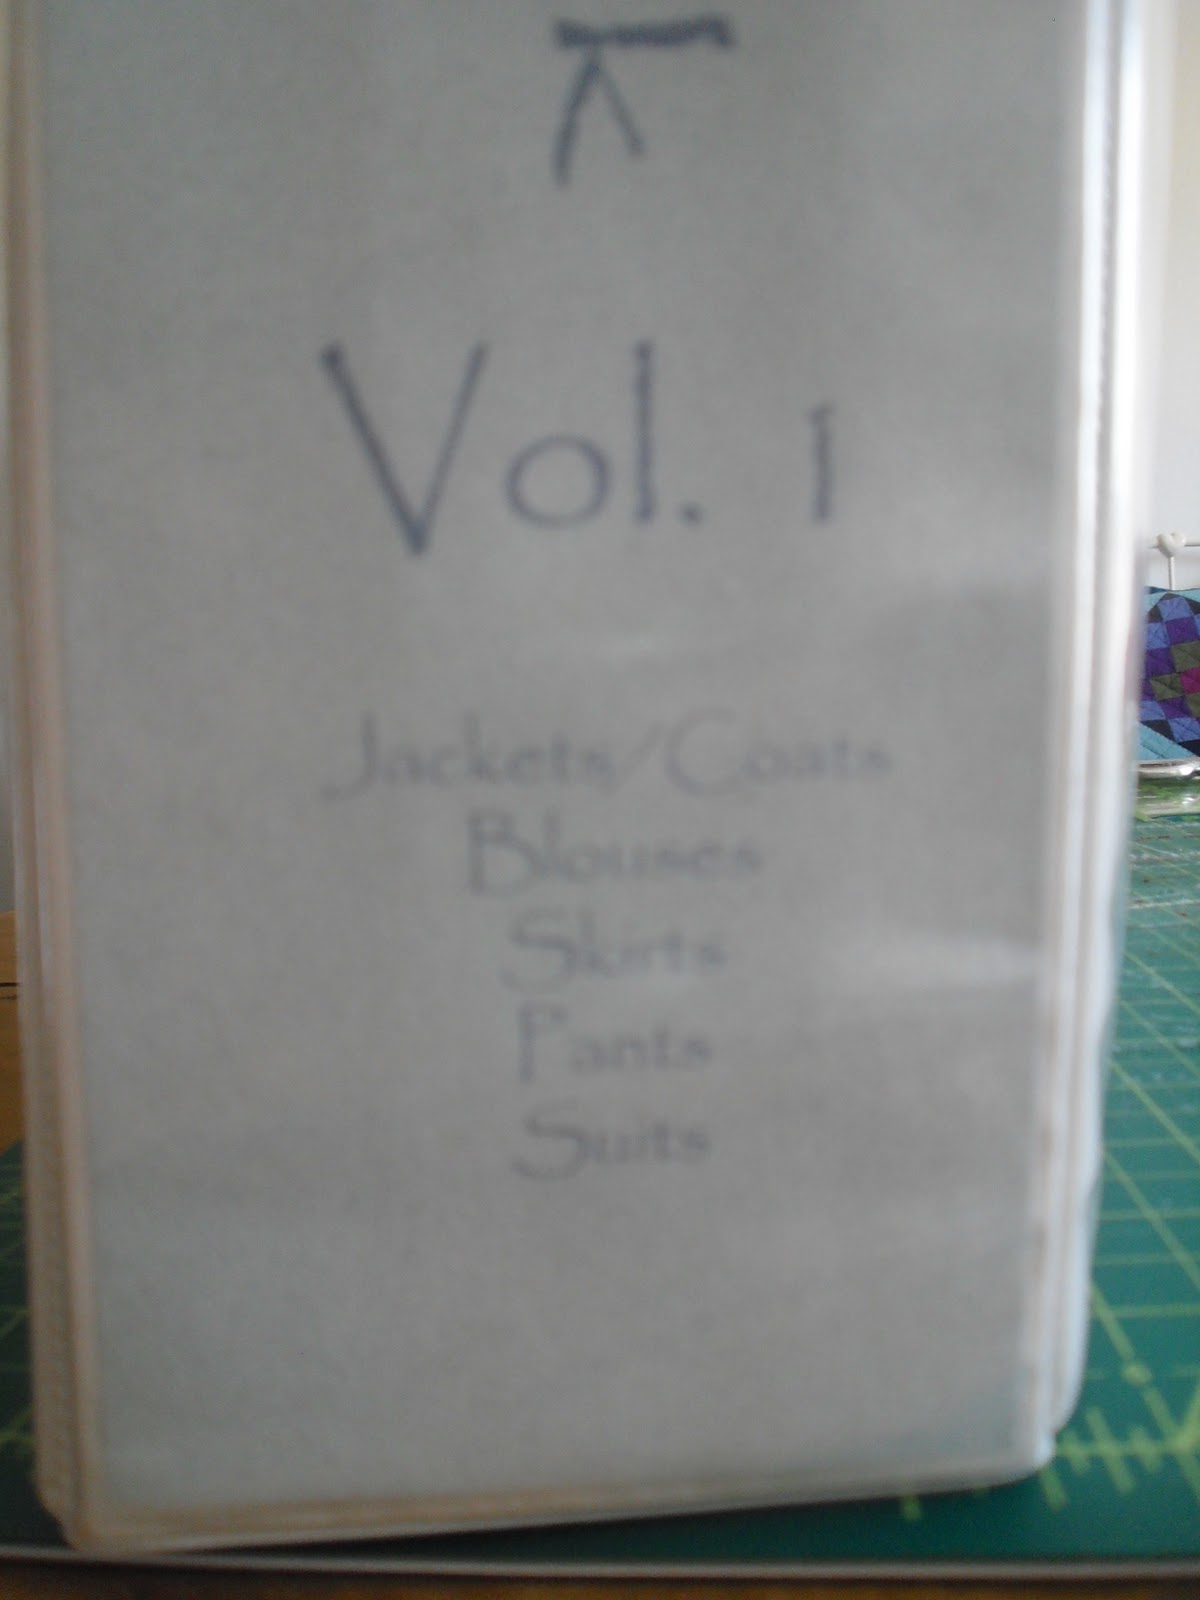
Organize these pictures however you wish. I organized mine by garment type: skirts, pants, dresses etcetera. Within each category I tried to put similar garments together. For example in my blouse section I have all my sleeveless blouses listed first, fallowed by the short sleeved blouses and finishing with the long sleeved blouses. For patterns that have multiple garments I either listed them in the sports wear section or listed them under the garment I most liked in the pattern.
Step 3:
Shove these pictures into plastic sheet protectors and stick them in the binder. I also made section labels/ dividers cause I love a well labeled binder.


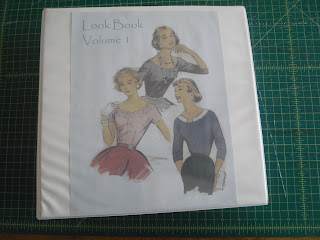
Step 4 (optional):
Make a pretty cover and spine label so you are inspired to keep this thing looking good, or in my case my pattern collection was so great I had to have two volumes and now I can easily look at the spine and know which volume I want.

Step 5:
Organize the actual patterns in numerical order.
Step 6:
Stick the patterns in a file cabinet or file boxes in numerical order. I use boxes cause I don’t have a file cabinet and I labeled the outside of the box with the number range in each box. I did not fill any of my boxes so I would have room for future growth.

Step 7:
Keep things organized. I have a box which I stick my un-photocopied/ sorted patterns in. When it fills up I force myself to sort all the new patterns. Important: It is necessary to file a pattern when you have finished using it. I also have special boxes for the patterns I draft myself as these patterns have neither fancy pictures or numbers.
So now all I have to do is look through my Look Book, see a pattern I want, find the pattern number, use the number to locate the pattern in the appropriate box and vola. Easy, painless, pattern organization. And the best part? It only takes up this much bookshelf space instead of the rows and rows the patterns use to consume.

Happy patterning
~Melisa & Cordelia
Love this! Thank you. My collection has gotten out of control. 200+ mostly pre-1970's patterns.
ReplyDelete